 Adding and Connecting a Door
To be functional, a Door record in CyberAudit-Web must connect to a Door and I/O module. It may be connected either before or after the Door and I/O module is added to a Flex System hub.
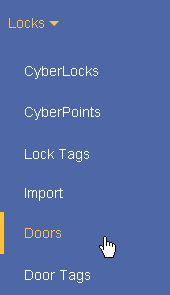
Adding a Door Record| Select Doors from the Locks menu. |
|
Click the
 from the
toolbar. from the
toolbar.
|
 |

|
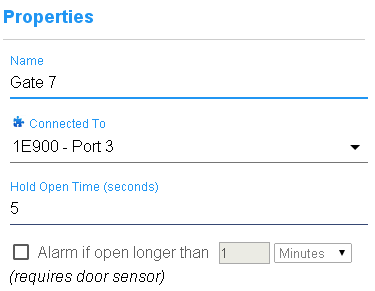
Enter a name for the Door.
Click Save. 
|
| Enter the properties
for the Door. Click Save.
|
|
|
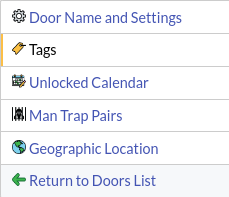
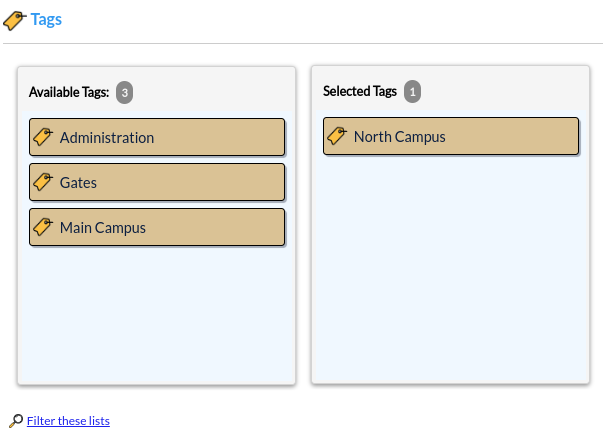
Click the Tags tab and assign Door Tags
as desired. |
|
Click Save.
|
Connecting a Door
To fully configure a Door it must be connected to a door group on a Flex II system or to a Door and I/O Module. These may be set in either of two places:
|
|
||

|
|||
|

|
||
