Go to:
Options for Adding Flex System Modules
About Groups and Display Links
The Grade Column
|
|
||
|
|||
|
|
||
|
|||
|
|||
|
|||
 from the
Go to:
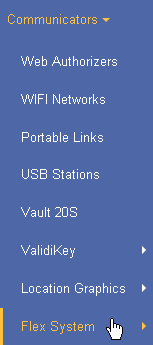
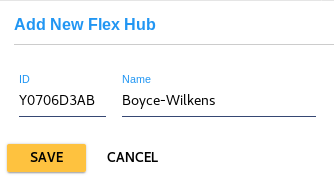
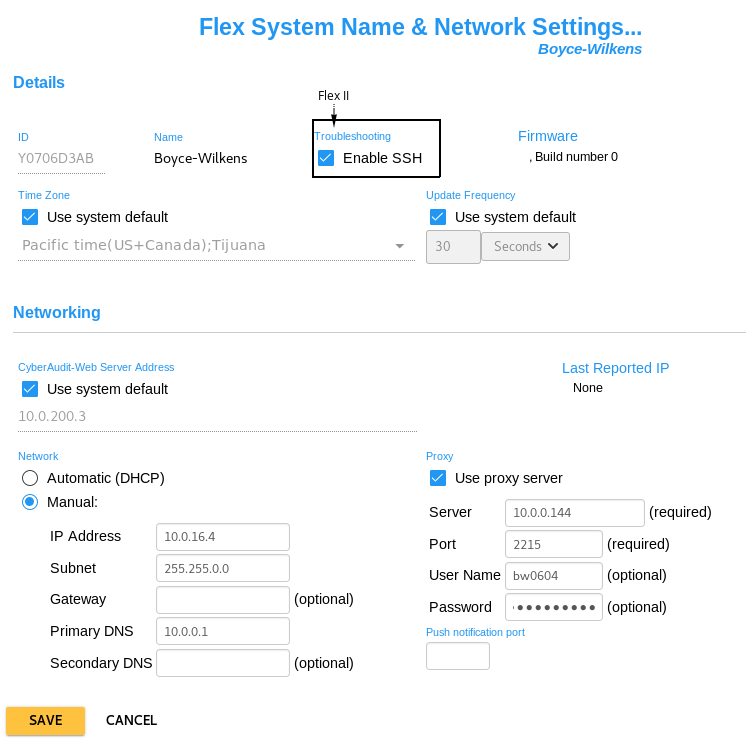
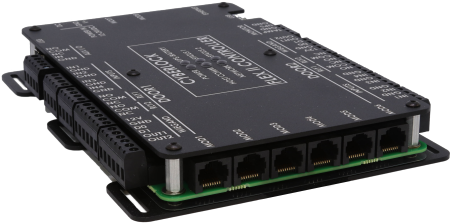
Adding a Flex System Hub to CyberAudit-Web
About Groups and Display Links
The Grade Column
 Options for Adding Flex System Modules
Modules may be added to a Flex System Hub either before installing them or by automatically acquiring them after the Flex System Hub is installed and the modules are plugged in.
- Adding Flex System Modules before installation - The advantage of this method is that once the modules are entered
then key and RFID card holders may be granted access to the Weatherized Vaults or Doors. Once the modules are
assigned to the Flex Hub ports, each module type must be paired with a port number on the Hub and clearly noted
for the installer. If the modules are installed in the wrong ports, there could be conflicts among the module Groups.
Modules installed with the wrong module type will appear with an icon,
 , indicating a conflict.
- Automatically acquiring Flex System Modules - A Flex Hub will automatically add all newly discovered Flex System Modules unless another module type has already been selected for that module port. The CyberAudit-Web administrator must reassign Groups and Display Links as needed for proper operation.
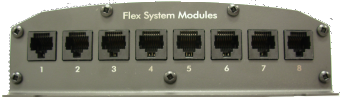
Adding Flex System Modules to a Flex System Hub before installing them
Go to the Flex System Modules page by selecting a Flex System Hub from the listing page and selecting Modules from the click menu. Modules may be added by clicking Edit from this page. This will bring up the Module Edit page for the selected hub.
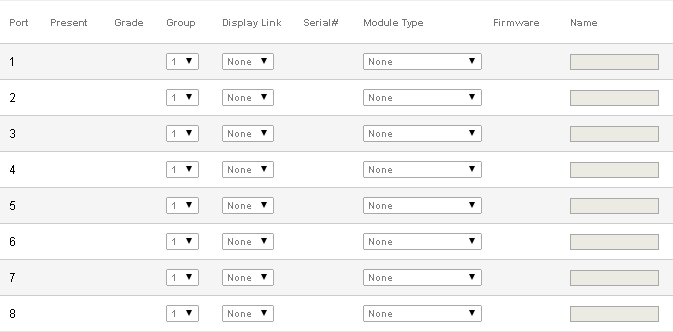
The Edit Flex Hub Modules page enables:
- Selecting the modules
|
|
There are three categories of Flex Hub Module functions; Input, Feedback, and Output. At a minimum each Group on a Flex System Hub requires at least one input and one output module. Each module type falls into these categories as follows:
|
Output |
|
Input |
|
Input and Feedback |
|
Input and Output |
|
Input, Output, and Feedback |
The Door Expander and the Door and I/O modules could fall into any of all three categories. It is an output module if it controls opening a door, an input module if a Wiegand RFID access card reader is connected, and a feedback module if it outputs to a door sounder or other indicator device.
CyberAudit-Web requires every Data Knob to be linked to a distinct Display. Other input devices do not requre a display but if a display is present, they may be linked to it.
Go to:
Adding a Flex System Hub to CyberAudit-Web
Options for adding Flex System Modules
The Grade Column
The Grade column is an indicator for each module indicating whether the Modules, Groups, and Display Links are present and installed in a workable arrangement. Each module type has a range of different possible icons as follows:
Flex II FlashReader and RFID Reader
 |
More than one reader with the same display link or no output module (Weatherized Vault, Door Group or Door and I/O module without a connected Door) |
 |
OK |
Weatherized Vault
|
No RFID reader and no keypad display and no Door and I/O module in the same Group and Not a member of a group without a door |
 |
A Door Group or a Door and I/O module connected to a door in the same Group or a Flex Keyport in the same Group or a Vault 20 FX Powerboard on the same hub |
|
OK |
Door and I/O module
 |
Door and I/O module not supported |
|
A Weatherized Vault in the same Group when the Door and I/O module is connected to a door. or Assigned to a Door Group on a Flex II Controller hub or Connected to a port on a Flex II Expander |
|
OK |
Keypad Display
|
More than one keypad display with the same display link or no output module (Keyport or Weatherized Vault or Vault 20 FX or Door Group or Door and I/O module without a connected Door) |
Gen 2 Web Authorizer Keyport
|
OK |
Flex Keyport
|
A Weatherized Vault or a Vault 20 FX in the same Group |
|
OK |
Flex II Expander
|
Connected to a port on another Expander |
|
OK |
Vault 20 FX Powerboard
|
No Vault 20 FX Key Controller in the same Group and no keypad display in the same Group |
|
A Door and I/O module connected to a door in the same Group or a Keyport in the same Group |
Vault 20 FX Key Controller
|
No Vault 20 FX powerboard in the same Group |
|
A Door and I/O module connected to a door in the same Group or a Keyport in the same Group |
