Knowledgebase

Programming a Vault 20 FX from a USB Flash Drive

  • 0

..//assets/img/kb/usbDrive.png Programming a Vault 20 FX from a USB flash drive

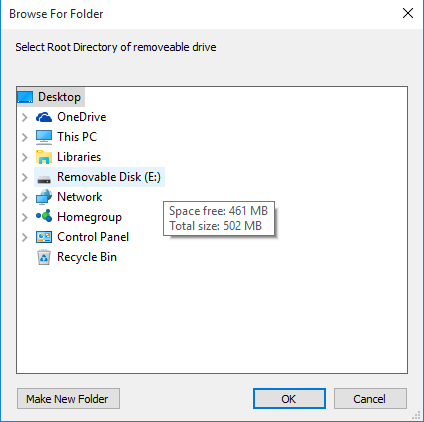
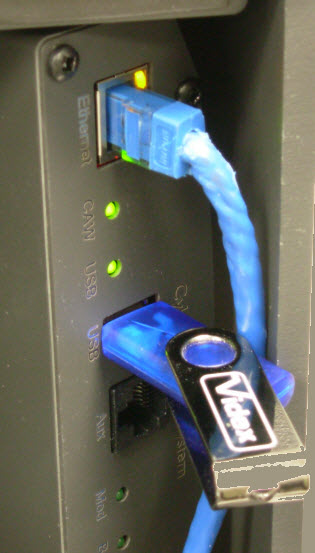
This process requires the use of the USB flash drive packaged with the Vault 20 FX or an equivalent unencrypted USB drive. The drive must be formatted as FAT or FAT32. USBMemoryStick.jpg

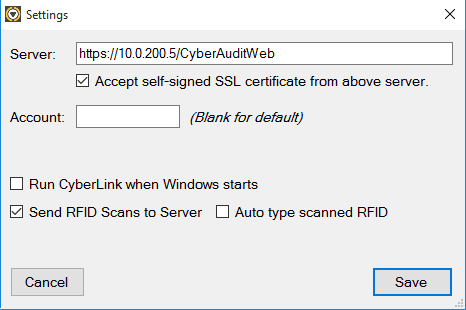
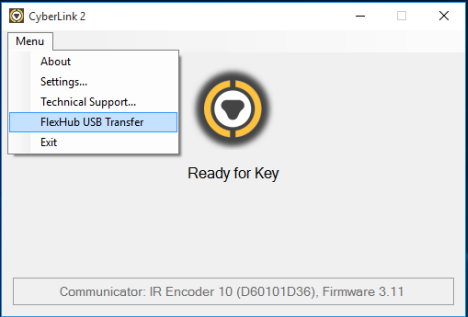
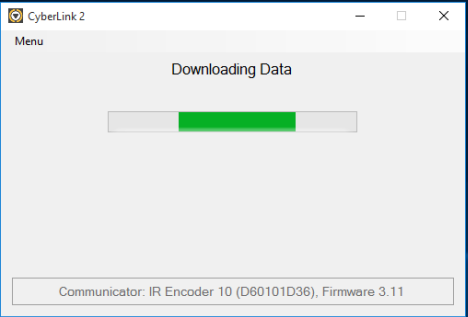
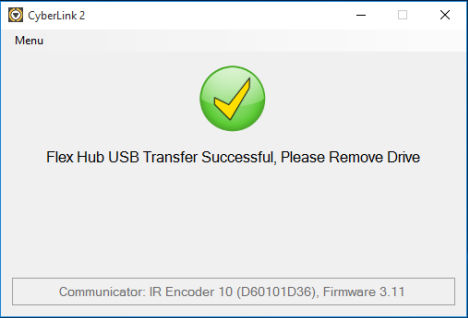
Once the Flex System hub has been added to the system it may be programmed with a USB flash drive.

1 Click on the Launch CyberLink link from the Flex System Hubs listing page.
LaunchCyberLink.png
2 With the CyberLink application started, open the menu and select Settings. Ensure the correct server URL and account are shown in the dialog. Insert the USB flash drive into the computer.
CL-Settings.png
3 Select FlexHub USB Transfer from the menu.
CL-FlexTransfer1.png
4 Select the USB drive from the list of drives.
CL-SelectDrive.png
5 CyberLink will pull any available Flex Hub data files from the drive and upload them to CyberAudit-Web and then will download programming instructions for all Flex Hubs with change icons.
CL-Transferring.png
6 When CyberLink has completed, unmount and remove the USB drive.
CL-TransferSuccessful.png
7 Open the front panel of the Vault 20 FX and set it aside.
FxOpenFrontPanel.png
8 With power applied to the Vault 20 FX, insert the USB flash drive. The USB LED on the hub will flash briefly. When the LED is steady on, remove the drive. The hub has now received its configuration and will attempt to connect to CyberAudit-Web as indicated by a flashing CAW LED. When connection has been established, the CAW LED remains steady on.
FxInsertUSB.jpg
9 Return the front panel to the Vault 20 FX.
FxOpenFrontPanel.png

Was this answer helpful?