Setting Up and Configuring a Vault 20 FX
Items required:
| A CyberKey to open the CyberLock on the Display/Card Reader panel of the Vault 20 FX. |
 |
| The USB Memory stick that came with the CyberKey Vault 20 FX package |
 |
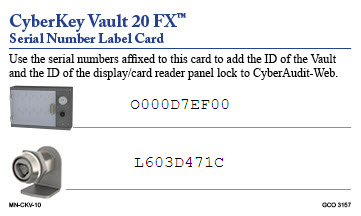
| The Vault 20 FX Serial Number Label card. |
 |
Note: A CyberKey Vault 20 may be set up and configured with CyberAudit-Web either before or after mounting.
Steps:

 Power Ethernet Connect power and Ethernet. |
|
|
|
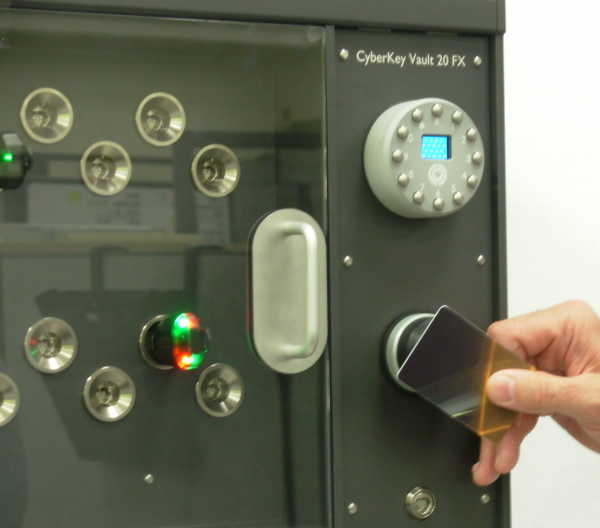
| When the vault starts up it will be in demo mode. If there are already CyberKeys in the cabinet, scan an RFID card or enter 4 or more digits on the Keypad. The Vault 20 FX will select a key and release it. Repeat the process for each key until all are removed. When all the keys have been removed from the Vault, close the door. | |
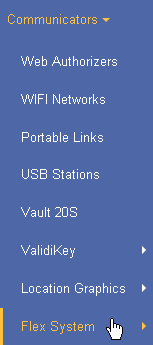
| Since the Vault 20 FX is fundamentally a Flex System Device it is added to the system as a Flex System hub. From the Communicators menu, open the Flex Hubs list page. |
 |
Click  from the toolbar
to add a new Hub. from the toolbar
to add a new Hub. |
|

|
|
In the Add new Flex Hub page,
|
|
| Insert the USB Memory Stick into the local computer which is logged in to CyberAudit-Web. | |
| The Vault 20 FX may now be connected to the network and programmed from USB. | |
| Go to the Locks page and add the Lock ID, again referring to the Vault 20 FX Serial Number Label card. Refer to the Vault 20 FX when naming the lock. | |
