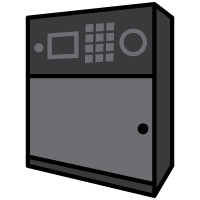
 Adding a ValidiKey 20
Note: ValidiKey 20 will only communicate with a server that has the gen 2 server components installed.
Ensure the gen 2 components are installed by contacting the CyberAudit-Web server in a browser at this
URL:
https://[server address or IP]/endpoint/services/test/
If properly set up, you will get a response in your browser showing component versions and settings.
A ValidiKey 20 is added to a CyberAudit-System in three steps:
- Enter the Serial number and network settings of the ValidiKey 20 into CyberAudit-Web
- Configure a USB Drive with the vault settings
- Insert the USB Drive into the ValidiKey to its settings so it will connect to the CyberAudit-Web server
Add the ValidiKey 20 to CyberAudit-Web
| From the Communicators menu, open the Validikey 20 list page. |
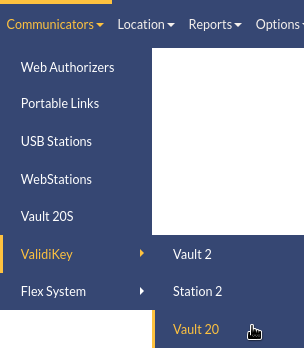 |
Click  from the
toolbar to add a new ValidiKey 20. from the
toolbar to add a new ValidiKey 20.
|
|
|
|
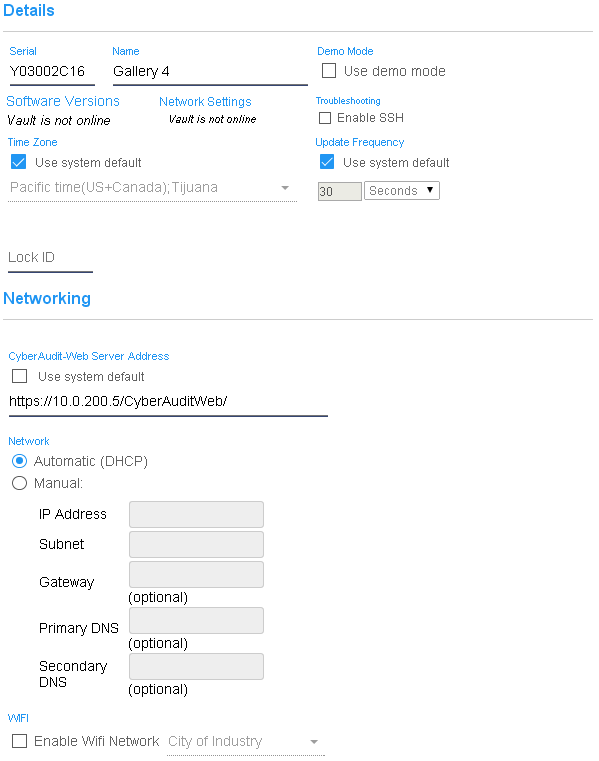
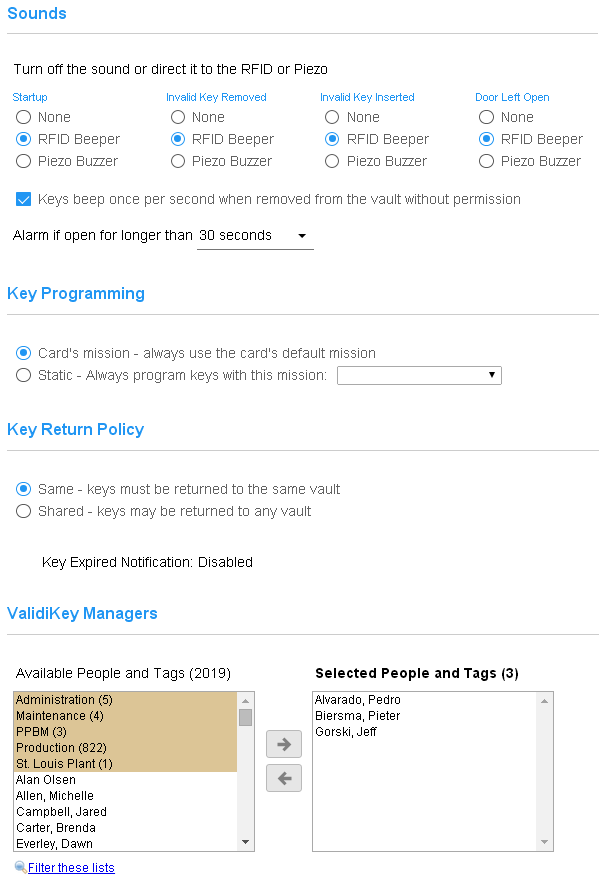
In the Add new ValidiKey page,
|
|
|
|
|
|
Configure a USB Drive with the vault settings
| Locate a USB flash drive and insert it into your local workstation. |
|

|
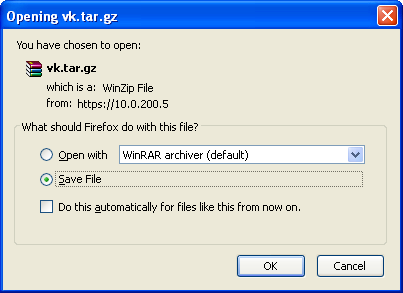
From the ValidiKey listing page, click the Generate USB Config link in the upper right corner of the page. |
|
|
| Save the file to the USB drive. Then "safely remove" the drive from the local workstation. | |
Connect the ValidiKey 20 to power. Allow about 15 seconds for it to start up. The ValidiKey will emit three quick beeps when it is fully started.
| Allow about 15 seconds for it to start up. The ValidiKey will emit three quick beeps when it is fully started. This message indicates it's ready to be configured. |

|
|
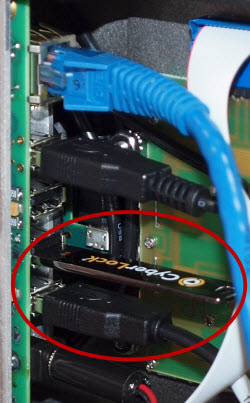
Open the panel and insert the USB flash drive into a USB port. It will read the ValidiKey setup information and report "Config Applied". You may remove the USB drive when the update completes. The ValidiKey will now attempt to connect to CyberAudit-Web. Use the Connection and Settings buttons in the Admin Functions to test and troubleshoot the connection. |
