Knowledgebase

Adding and Configuring a Web Station

  • 0

..//assets/img/kb/web-station-marker.png 
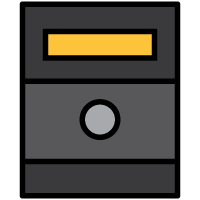
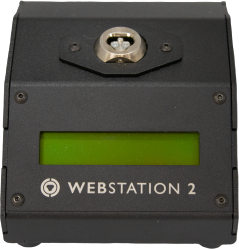
Adding and Configuring a WebStation 2

WebStations are added by following these steps:

1 To add a new WebStation, choose "WebStation" from the "Communicators" menu.
select.Stations.png
2 Click the "Add" tool.
Add Tool
new.WebStation.png
3 Enter the serial number of the WebStation and a name that will identify it. This name will cross-reference to the CyberKey comm log to indicate which Station was used to download the CyberKey. Ensure the time zone for the station is accurate.

WebStations also require networking information.

  • CyberAudit-Web Server Address - IP address or DNS name of the computer or server running CyberAudit-Web. The default setting is checked on by default. To change the URL, uncheck the box.
    Note: If using a DNS name, enter the fully qualified domain name.
  • Automatic (DHCP) / Manual - As shipped from the factory, a WebStation will request a dynamic IP address. A static address may be assigned if desired.
  • If using a static address for the WebStation in combination with a DNS name for CyberAudit-Web, a valid Primary DNS IP address must be entered to enable the WebStation to resolve the CyberAudit-Web IP address.

    4 Click 'Save' to save the new Station record.
    Save Button
    5 After entering and saving the network settings, the WebStation must be configured using the USB cable and CyberLink 2 or CyberAudit Link Android.
    WebStationWall-239H.png
    6 Plug in power and the USB cable. Launch CyberLink2 or CyberAudit Link. For the original WebStation, see the note at the end of this article.
    launchCyberLink.png          cyberLinkLogo.png
    ConfiguringWebStation2.png CAL-WS-Updating.png
    AddNewWebStation2.png CAL-WS-AddNew.png
    WebStation2Added.png CAL-WS-Complete.png
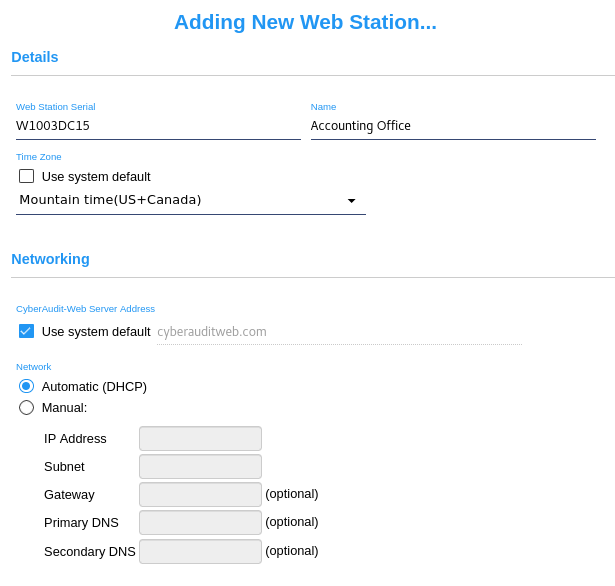
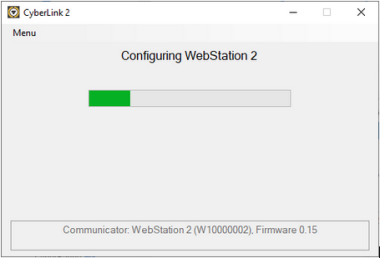
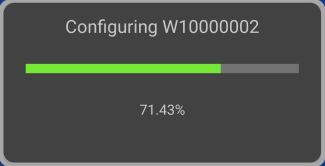
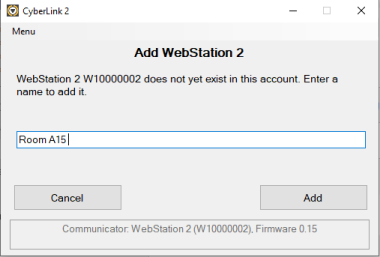
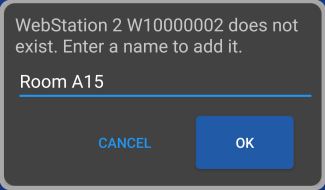
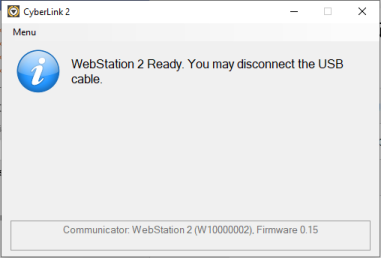
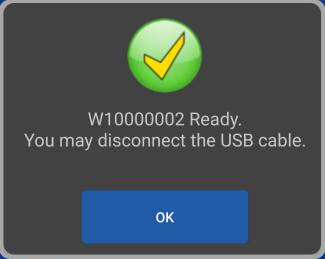
    CyberLink 2 or CyberAudit Link will discover the WebStation and offer to configure it. If steps 1-4 above were not followed, both apps will offer to add the WebStation 2 to the account. It will be configured to use DHCP and will get the default timezone and server address for the subsystem of the portable link.
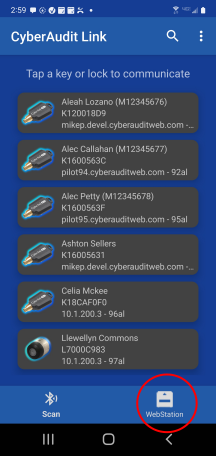
    CyberAudit Link allows re-configuring the WebStation 2 while still connected by tapping the WebStation 2 icon at the bottom of the screen. CAL-WS-Refresh.png
    WebStationDesk-239H.png
    7 After CyberLink updates the WebStation and its change icon (change icon) clears, the WebStation will try to communicate with its CyberAudit-Web server. Connect the Ethernet cable. The display will show its connection status. Ready * indicates it is connected and ready to program keys. The green OK (Green OK) will appear in the WebStations list page.

    Notes for the original WebStation -

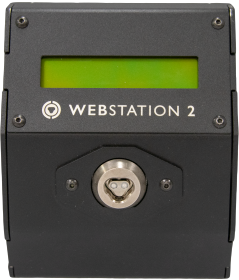
    • Original WebStations have two separate modes of communications, USB and Ethernet. When no power is connected from the 12V transformer, the WebStation is in USB mode. Applying power through the power jack toggles it to Ethernet mode. The original WebStation must be configured in USB mode (USB cable connected, no power connected).
    • CyberAudit Link does not add or configure the original WebStation.

    Was this answer helpful?