Knowledgebase

Resetting a Web Authorizer

  • 0

Resetting a Web Authorizer

Resetting an Authorizer will revert it back to the original, unprogrammed state as it was shipped from the factory.

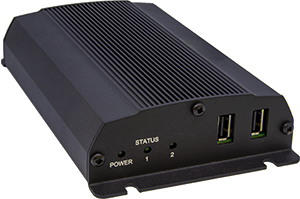
Steps to Reset a Web Authorizer 2
1 Download the autorun.sh.enc file from this page or from the <server URL>/CyberAuditWeb/download page. Save the file to a USB drive.

Note: An administrator with Flex II edit permissions must be logged in to download this file.
FlexIIdownloadPage.png
2 Insert the USB drive into one of the USB ports on the Web Authorizer 2.
AH-WB-2.jpg
3 The Web Authorizer 2 will step through processing the reset configuration. When completed it will indicate on a keyport/display it is resetting the device configuration and to remove the USB drive.

Steps to Reset an original Web Authorizer
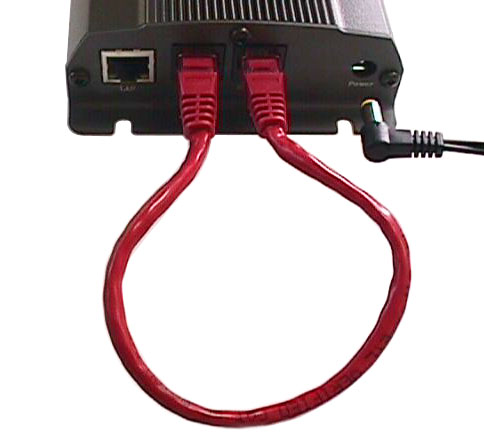
  1. Disconnect the power and all other cables from the rear of the Authorizer.
  2. Use a single Ethernet cable to bridge the ports labeled Keyport1 and Keyport2.
  3. Reapply power to the Authorizer. The LEDs on the front of the Authorizer will cycle through these startup steps:
    • Power LED only - Initializing
    • Power and 1 - Loading software components from memory
    • Power and 2 - Acquiring network, starting software components and application
    • Power solid and 1, 2 flashing - Scanning USB

When Power stays solid and 1 flashes about once every 4 seconds, the system is operating normally. At this point it is ready to configure.

Additional links:

Web Authorizer Description
Web Authorizer Details
Configuring a Web Authorizer
Web Authorizer Keyport Messages
Web Authorizer Special Code Inputs
Web Authorizer Caching
Web Authorizer Listing Page
Adding Web Authorizers
Web Authorizer USB Configuration
Installing a Keyport
Audit Trail Events
Web Authorizer Diagnostics
Other Communicators

Was this answer helpful?