Adding Key Rings and Granting Access
1. Enable Key Rings

|
Key Rings must first be enabled for an account in the manage section, database General Settings. |
2. Create ValidiKey Ring Templates
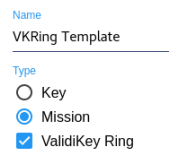
| To use a Key Ring in CyberAudit-Web, it must attach to one or more missions or mission templates. This enables a CyberKey to open CyberLocks and notify the key holder when it is expired with a beep . If the system will be using ValidiKey Rings, create a ValidiKey Ring mission template by checking the ValidiKey Ring checkbox when the mission is created. |
|
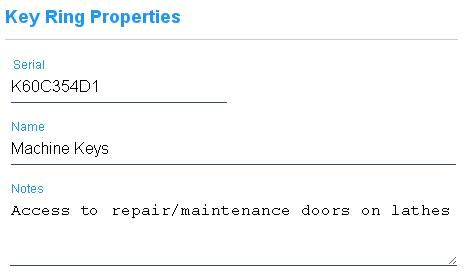
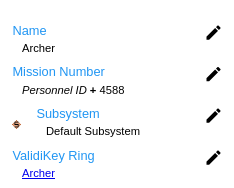
3. Add a Key Ring
Follow these steps to add a Key Ring to the system.
- Click
 from the
toolbar
in the Key Ring listing page.
from the
toolbar
in the Key Ring listing page. - Enter the serial number ID of the CyberKey or ValidiKey Ring that will be used.
- Enter any desired notes as a further description of the Key Ring.
- Click Save.
4. Assign to Vault
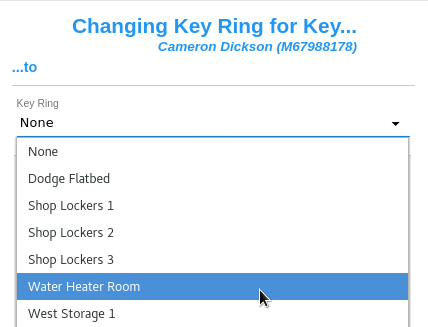
After one or more Key Rings have been added to the system they may be assigned to any ValidiKey Vault following the standard methods for adding CyberKeys to ValidiKey Vaults.
5. Connect to a Mission
| Follow the steps to add a mission. If the mission will attach to a ValidiKey Ring, check the ValidiKey Ring box and select a ValidiKey Ring template. Click Save. |
|
|
|
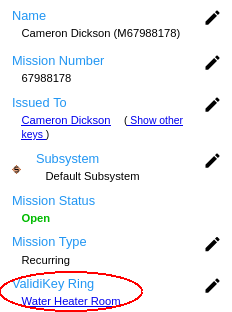
| If you have created a mission template, you may attach a Key Ring or ValidiKey Ring to it. Any missions checked out using an authorized personnel ID + mission number of the template will get that Key Ring. |
|
